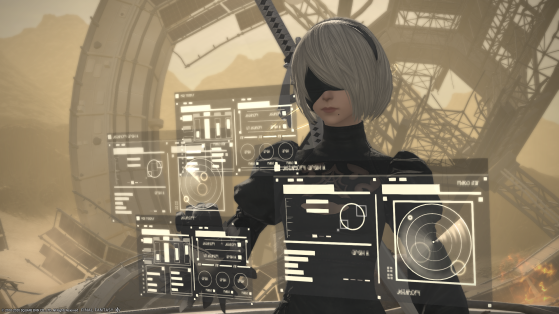
With Patch 5.3 now available in Final Fantasy XIV players can access Part 2 of the Nier Automata Raid: YoRHa: Dark Apocalypse Puppets’ Bunker. In this guide we'll help you complete the raid without dying too much! (We can't help you more than that Dragoons, sorry.)
If you missed it, here is our guide on how to unlock the Puppet's Bunker.
813P-operated Aegis Unit
This boss is the first you'll come across and will need to split the raid in three groups, one per platform. The mechanics are quite simple as it's for the most part being at the right place at the right time and avoid aoes.

You can fall of the arena so don't stay too close to the edge if you plan to "healer ajust".
Most of the spells the boss casts are AOEs or Raid Wide so as a healer keeping your group healed should be okay as long as everyone stay close from one another.
When the boss casts Maneuver: Beam Cannons (the big yellow things on the ground) the plan is to locate the overlaping AOEs and go where they're the fastest to be safe. Program: Life's Last Song is an other AOE during which players will need to go where the glowing rings have a hole to be safe. If you are marked by an AOE make sure to get it away from your group.
When Firing Order: Anti-personnel laser is casted you will be targeted with a AOE tankbuster so make sure to get away from your group.
Superior Flight Unit
Each alliance faces one of this mechs according to the letter in the name (A-lpha, B-eta, C-hi). The fight is very straightfoward except for two mechanics.
When the three of them casts Formation: Sharp Turn they will link themselves together and prepare a laser sword. The strategy is:
• They hold the sword in the right hand → Go to the edge of the arena
• They hold the sword in the left hand → Go in the middle of the arena
When Formation: Sliding Swipe arrives you'll need to follow the only unit not throwing AOEs as it is the safe zone.
The units will also all join at the same spot and draw their blade right of left in a sequence, to survive go to the oposite side according to the order they revealed the swords.
905P-operated Heavy Artillery Unit

This boss will ask you to be quite careful and check what the boss is doing in order to claim a flawless victory. The boss will start with a Raid Wide AOE and will follow-up with Operation: Activate Laser Turret.
To survive this you will need to look at the center of the arena as you will see red orbs grouped by three. Go where the orbs are placed higher, wait for the lower orbs to stop dealing damage and quickly move to the side to avoid the last tick of the higher orbs.
Instantly after that the boss will cast Maneuver: High-powered Laser, this is a linear AOE tankbuster so you want to direct it where you don't see any ally.
The boss will then continue with targeted and untargeted AOEs so just make sure to not overlap with other targeted players and avoid the rest.
When casting Maneuver: Revolving Laser the only safe spot is directly under the boss.
When Support: Pod two types of pods spawned by the boss:
• R030 Pods → Stand between and close to the pods to avoid AOEs
• R010 Pods → Stand between the pods
During Operation: Synthesize Compound players need to enter zones to avoid damage and Operation: Pod Program v2 is a mix of the two previous Pods attacks.
The Compound
A very fast an easy boss, the only two things you need to pay attention to are:
- Mechanical Decapitation and AOE with a safe spot right under the boss
- Incongruous Spin where the boss will split. The safe spot is the intersection of the two spots where boss splits.
The Compound 2P

Now that the big ball has become a weird version of someone's waifu, the hardest part of the raid starts, don't worry tho, there's a checkpoint after clearing Compound.
As this fight is the hardest here is a full list of what the boss can do and how to suvive it:
- Centrigugal Slice is a huge AOE, you'll need to get far away from the boss, don't hesitate to sprint if you're playing melee.
- Relentless Spiral are AOEs spawning on players positions.
- Prime Blade has different patterns, look at how the sword is placed and move accordingly:
• Sword above head, facing the ground → Big AOE where she's looking
• Sword behing her → AOE around her
• Sword in the ground → The safe zone is right under the boss. - When 2P cast Prime Blade and link to two circles. The safe zone is the circle where orbs are flowing to.
- Three Part Disdain is a share, to survive stay close to the marked player.
- Compound Pod: R012 will taget tanks with AOE tankbusters and other players with AOEs.
- Four Parts Resolve will mark four players with a number from one to four, order in which she'll attack. To survive don't stand between marked players and the boss, between two marked players or too close to a marked player.
- Reproduce will spawn other 2Ps that will use the same attack as her. To survive identify the Prime Blade used by the main 2P and avoid the same attack from the clones.
- To survive to Energy Compression one player will need to stand in each zones, when the links spawn, players need to stand on circles where orbs are going to as the zones will teleport there.
- Compound Pod R011 will spawn laser shooting spawn that will also be teleported, be mindful of the orbs to identify the safe zone.
And here you have it, with that done you will be able to get some ilevel 490 gear and a Puppet's Coin per week until the limitation is lifted. This coin can be used to upgrade the Crystarium gear. We hope this guide was helpful and hope to see you soon on our FFXIV Portal.

FFXIV Patch 5.3 introduced the new Dwarf Beast Tribe. From 'Ronitt to the Rescue' to 'Wright for the Job', here is how to unlock the Beast Tribe.